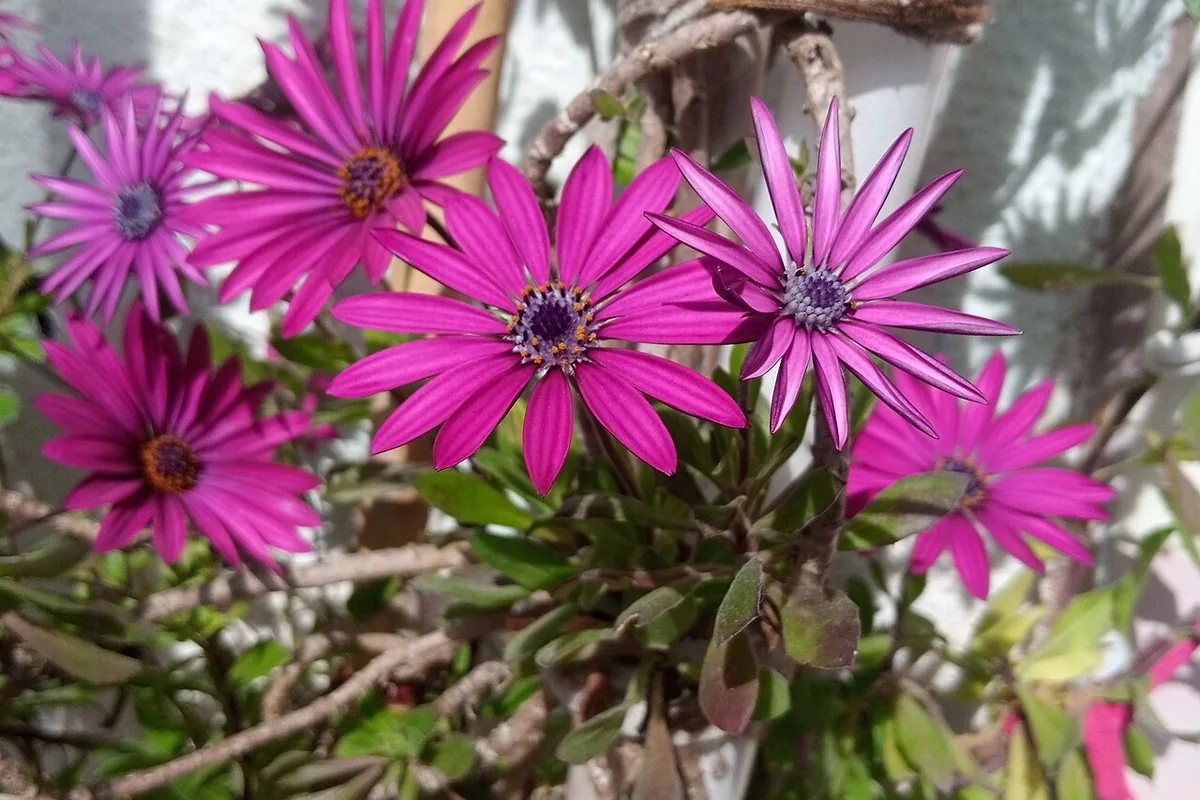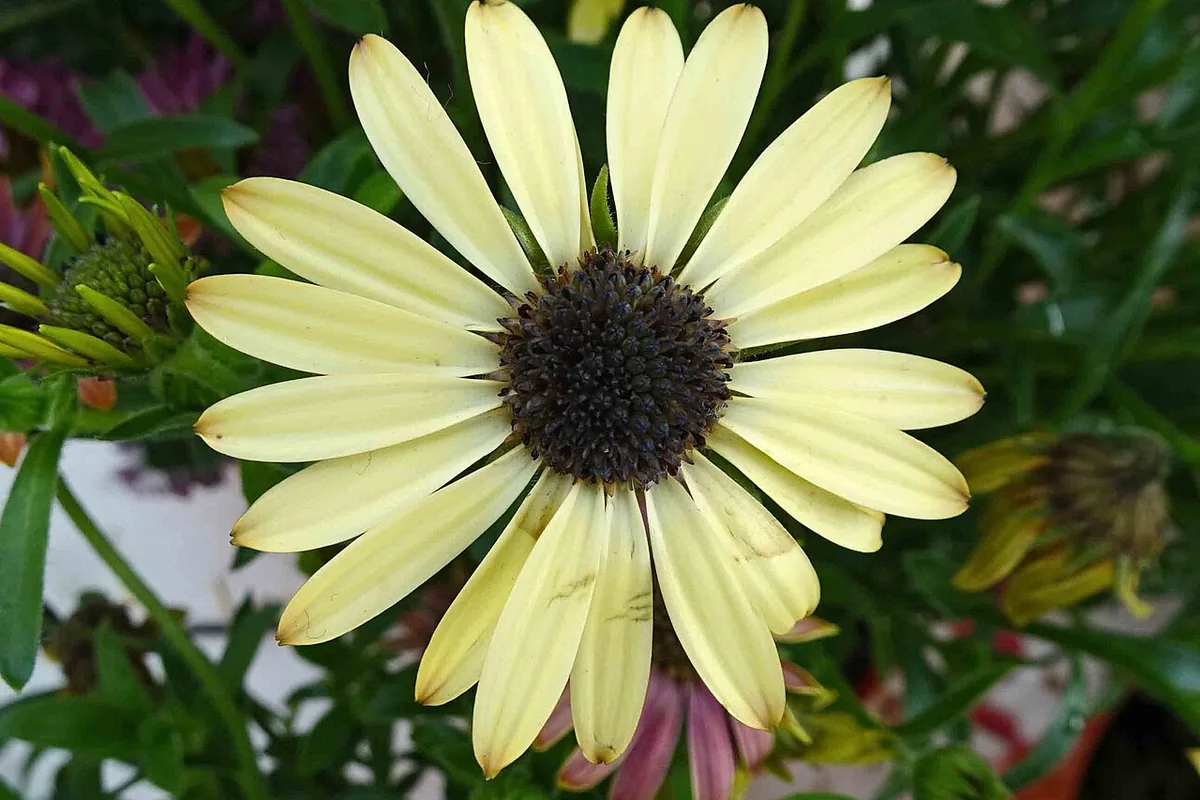
Cape Daisy earns its place in a container through showy daisy heads often with contrasting dark centres above branching foliage. The botanical name is Osteospermum ecklonis, which is useful when buying plants because common names can cover several different garden subjects. Begin by looking at the whole plant rather than choosing solely from the largest open flower. A compact young framework with intact leaves and visible new growth is easier to establish than an overgrown specimen squeezed into a small nursery sleeve. Check the label for the mature size of the particular selection, then choose a position where its characteristic outline can develop without continual trimming or crowding by stronger neighbours.
Choose a sunny position with moving air and cooler nights where possible for cape daisy. Cool daylight is more useful than the highest possible temperature. A pot against reflective glass can become much hotter than the wider garden. Check the position during the warmest part of the afternoon and allow some relief when heat begins to shorten the flowering period or stretch the newer growth. Look at where the sun actually falls on the foliage, not simply the direction in which a balcony faces. A deep roof, a neighbouring building, or a newly arranged taller plant can alter that exposure substantially. A short record of the morning and afternoon conditions gives a more useful basis for choosing the location than repeatedly moving a flowering pot from one attractive corner to another. Make any large change gradually so existing leaves have time to adjust.
The main container consideration for cape daisy is this: a draining container with room for a branching canopy is better than a crowded tiny pot. Start with fresh container mix that holds moisture while allowing excess water to pass. Packing the mix hard removes the air spaces young roots need. Set the original root ball at its previous depth, settle the surrounding material gently, and leave a little watering space below the rim so a thorough drink stays in the pot. Before planting, inspect the nursery root ball and loosen only obvious loose circling outer roots that can be eased without tearing the main structure. Do not wash away the mix merely to make the roots look tidy. Keep the stem bases and crown visible at their established depth. Water the completed planting once, let it drain, and check that neither the pot nor a decorative cover has trapped a reservoir underneath. The container should remain practical to reach for later care.
The watering priority for cape daisy is specific: moderate moisture and an airy root run rather than repeated heavy soaking. Make the decision from the actual root ball rather than the date on a calendar. A nursery plug can dry inside surrounding damp fresh compost, while a large outer pot can hide collected water beneath it. Feel the mix, lift the pot if practical, then apply water slowly across the surface and let the excess escape. Temperature, wind, canopy size, and the material of the container all change the interval. A terracotta pot in moving air behaves differently from a glazed pot in shelter even when both contain the same species. After rain, inspect the mix rather than assuming every part of the root ball has been watered evenly. If water immediately runs down a gap at the edge of a dry root ball, apply smaller repeated amounts until the mix takes it up.
When managing flowers on cape daisy, take off finished daisy heads and shorten an occasional long branch to a leafy point. Feed in response to active growth and the instructions for the actual product, allowing for any fertilizer already included in fresh potting mix. More feed cannot correct unsuitable daylight, a collapsed root ball, or the wrong season. Check a plant before cutting it: a branch carrying several unopened buds should not be removed simply because one nearby flower has finished. Use clean suitable tools, remove loose dead material from the mix surface, and leave enough functioning foliage to support the next stage of growth.
Plan around this seasonal pattern for cape daisy: many selections flower strongly in mild weather and may pause during severe summer heat. A perennial needs an appropriate quieter period as well as its flowering season. Garden hardiness ratings describe plants rooted in the ground and cannot be applied unchanged to a small exposed pot. Protect the root zone from severe temperature swings, reduce watering as growth slows, and keep the crown observable rather than burying it beneath wet fallen material. Keep local conditions in view rather than copying a month from a garden in another hemisphere. The useful cues are temperatures, the direction of new growth, and whether the plant is extending stems or entering a rest. When moving a protected plant outdoors, allow it to adjust to brighter light and stronger air movement before putting it in its final display position. A label recording the exact plant and the season it was established helps make the next decision less uncertain.
For a new cape daisy plant, take suitable cuttings from nonflowering shoots if preserving the exact selected plant. Start with clearly identified material because a photograph of a flower is not enough to establish the identity of a seedling or cutting. A named selection may not retain its colour or compact habit when raised from seed, even if the species name is correct. Give young roots their own manageable container and inspect moisture at their scale rather than applying the routine used for an established flowering pot. Grow new material separately until it can be checked for unwanted insects and its growth habit becomes clear. Keep only the number of plants that can be spaced and maintained properly.
Keep one particular point in view when inspecting cape daisy: a summer flowering pause does not automatically mean the plant needs strong fertilizer. Compare the newest growth with older leaves and look at the root zone before choosing a response. An isolated damaged flower after rain tells a different story from a whole canopy losing firmness while the mix remains wet. Check both leaf surfaces, the stem bases, and the drainage outlets, then remove loose decaying material that obscures what is happening. Change one relevant growing condition at a time and watch the subsequent growth. This makes it easier to distinguish a normal seasonal change in Osteospermum ecklonis from a repeated problem that the container arrangement is creating.