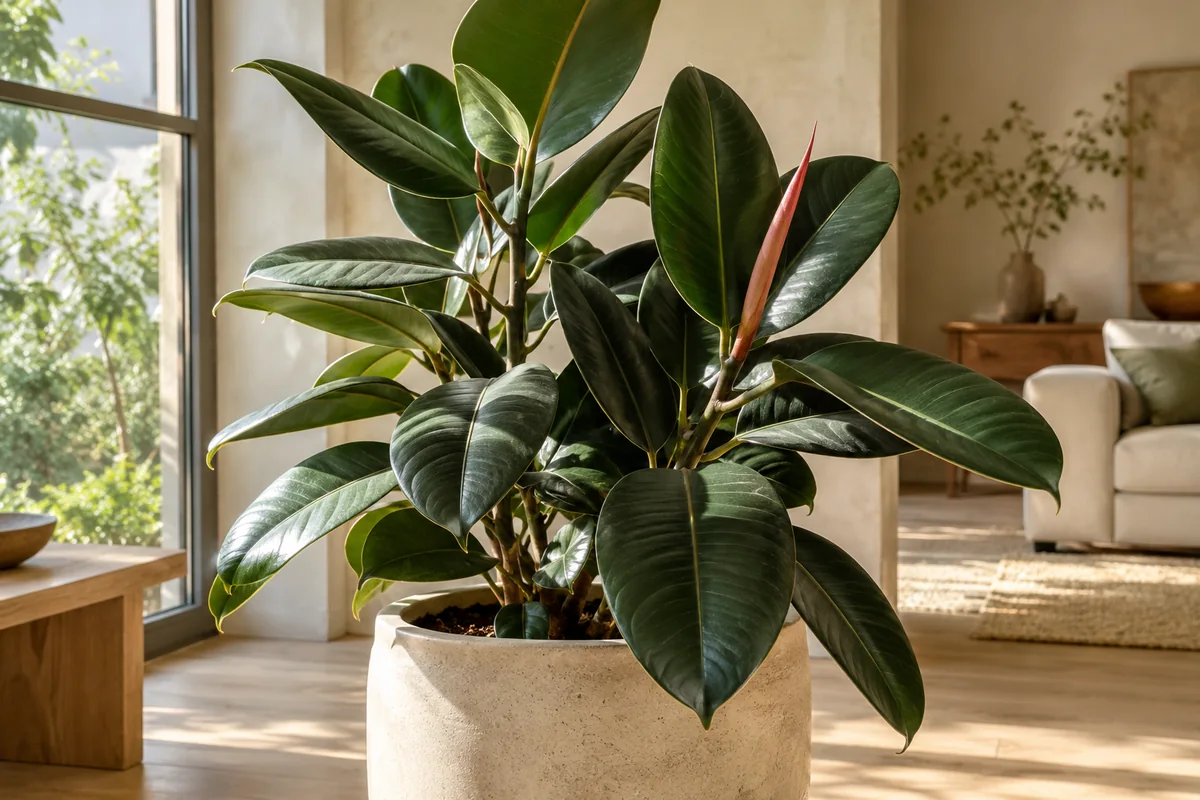
A rubber plant can eventually put its finest leaves well above the furniture, leaving a long stretch of bare stem underneath. Air layering offers a way to turn that leafy top into a separate plant without asking it to survive immediately on an unrooted cutting. The stem stays connected to the original roots while new roots develop inside a small wrapping of moist material. This is a deliberate project rather than a quick trim. Choose a period when the plant is making steady new growth and you can inspect the wrapping regularly. A plant already struggling with wet soil or a recent move should settle before you begin.
Look for a straight, firm section of stem below the leafy top you want to keep. The finished plant needs enough stem to sit securely in a pot, so picture its future soil line before choosing the position. Avoid a weak bend, a damaged area, or a junction that carries a heavy branch. Clear a small working area by removing a leaf only when necessary. Protect the table and wear gloves, since rubber plant sap can irritate skin and stain surfaces. Prepare a clean sharp blade, damp sphagnum moss, clear plastic, and ties before making any incision. Having everything within reach makes the operation calmer and more accurate.
Air layering depends on creating a small wound that encourages rooting while leaving the stem structurally sound. On a suitable woody stem, an experienced grower may remove a narrow ring of outer bark, taking care not to cut deeply into the supporting wood. A shallow upward incision held slightly open is another approach used on some stems. Do not combine several severe wounds in one place. Follow a reliable horticultural illustration if you have never identified bark and the underlying tissues before. A small plant with a thin green stem is often a better candidate for ordinary stem propagation than for an improvised air layering attempt.
Soak the sphagnum first, then squeeze it until it feels damp rather than dripping. Place a modest handful around the wounded section and wrap it with clear plastic to keep the moss in contact with the stem. The wrapping should hold together without crushing the branch. Close both ends enough to slow moisture loss, leaving a practical way to inspect and remoisten the material. Excess water collecting at the bottom signals that the moss is too wet. An opaque outer cover can shade the roots and be removed briefly for inspection. Keep the leafy top supported if the added weight makes the stem lean or sway.
Return the plant to bright indirect light and continue watering its original pot according to soil moisture. The layering package does not replace the ordinary care of the parent plant. Check the moss through the wrapping every few days at first, especially in a warm room. Add a little water only when the material is becoming dry, directing it into the moss rather than flooding the seal. Constantly opening and rearranging the bundle disturbs developing roots. The leaves should remain attached and reasonably firm throughout the process. A darkening, collapsing stem or unpleasant smell deserves investigation rather than another addition of water to an already wet package.
Root development may take many weeks and sometimes longer. A few pale points against the plastic are encouraging, but they are not yet enough to support a large leafy top. Wait for several roots to extend through different parts of the moss and begin forming a visible network. Rooting speed depends on the stem, season, warmth, and condition of the original plant. Avoid tugging on the package to test its grip. If no roots appear, check moisture and the integrity of the stem before deciding whether to continue. A living, firm stem can remain attached while you assess it; cutting first removes that useful margin for patience.
Prepare a small container with drainage holes and an airy potting mix before separating the rooted section. Make a clean cut below the new root bundle, then unwrap it gently. Leave moss that is woven among the roots in place rather than pulling the roots apart to make them look tidy. Set the bundle at a depth that supports the stem without burying leaves or creating a deep wet collar. Fill the surrounding space lightly and water enough to settle the mix. Allow the pot to drain completely. A temporary support can keep the new plant steady while its roots spread into the surrounding material.
Keep the new rubber plant in an evenly warm position away from harsh sun and strong drafts. Its original leaves are now supported by a much smaller root system, so steady conditions matter more than feeding. Check moisture carefully and let the surface begin to dry between waterings without allowing the entire bundle to become brittle. Watch the remaining parent plant as well, since its reduced canopy may use water more slowly. New buds may develop below the cut over time. Once the separated plant begins producing fresh growth, gradually return it to your usual care routine. Record the layering date and separation date to guide future attempts with similar stems.