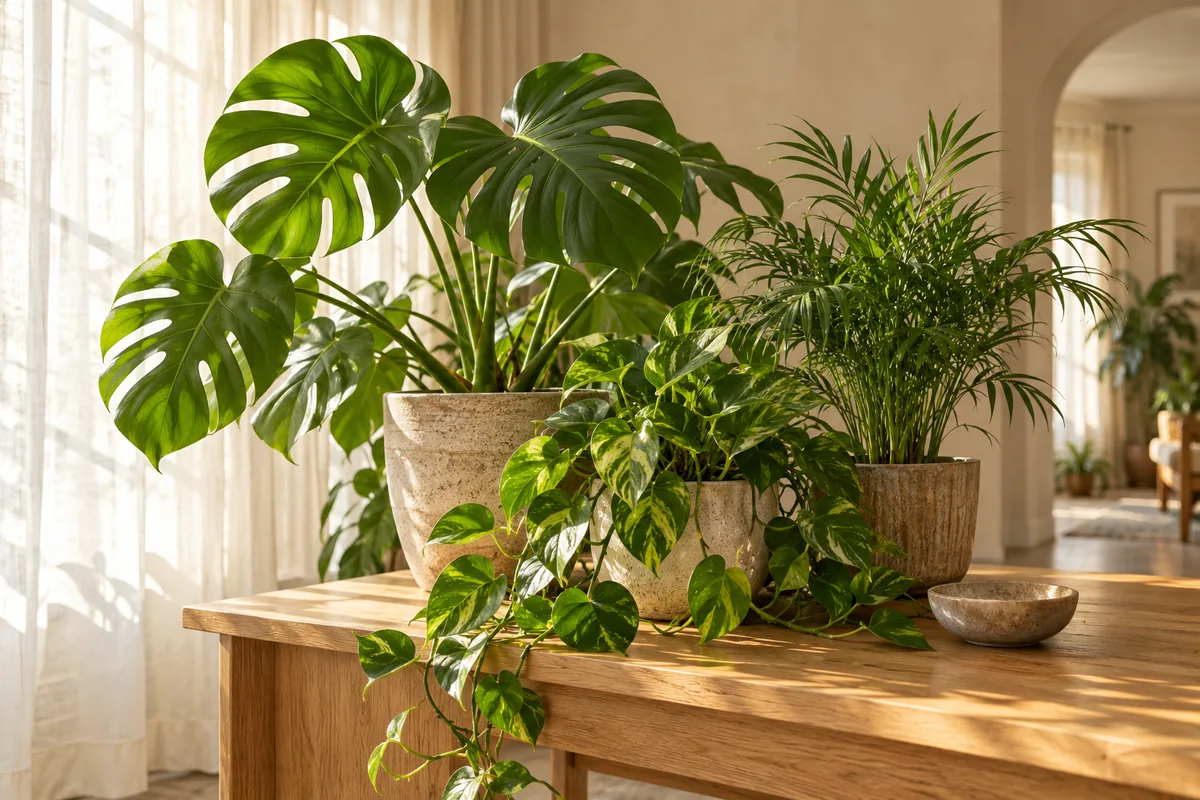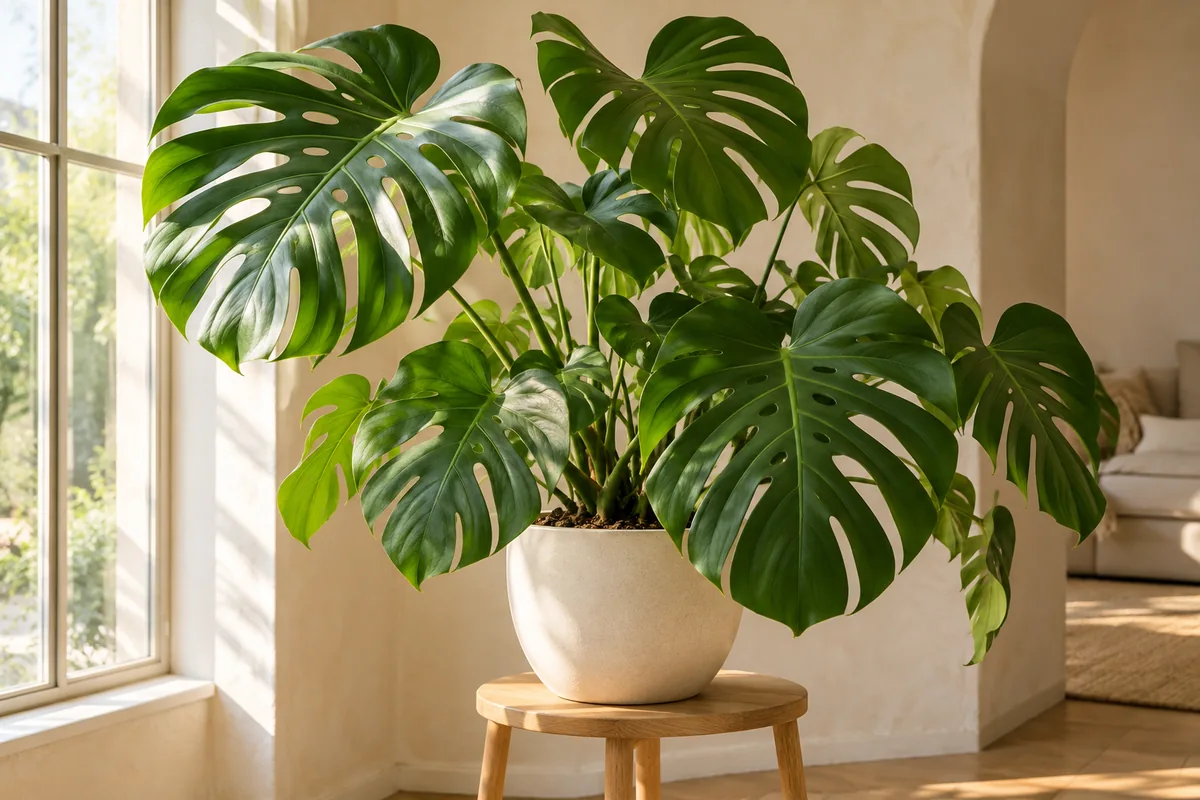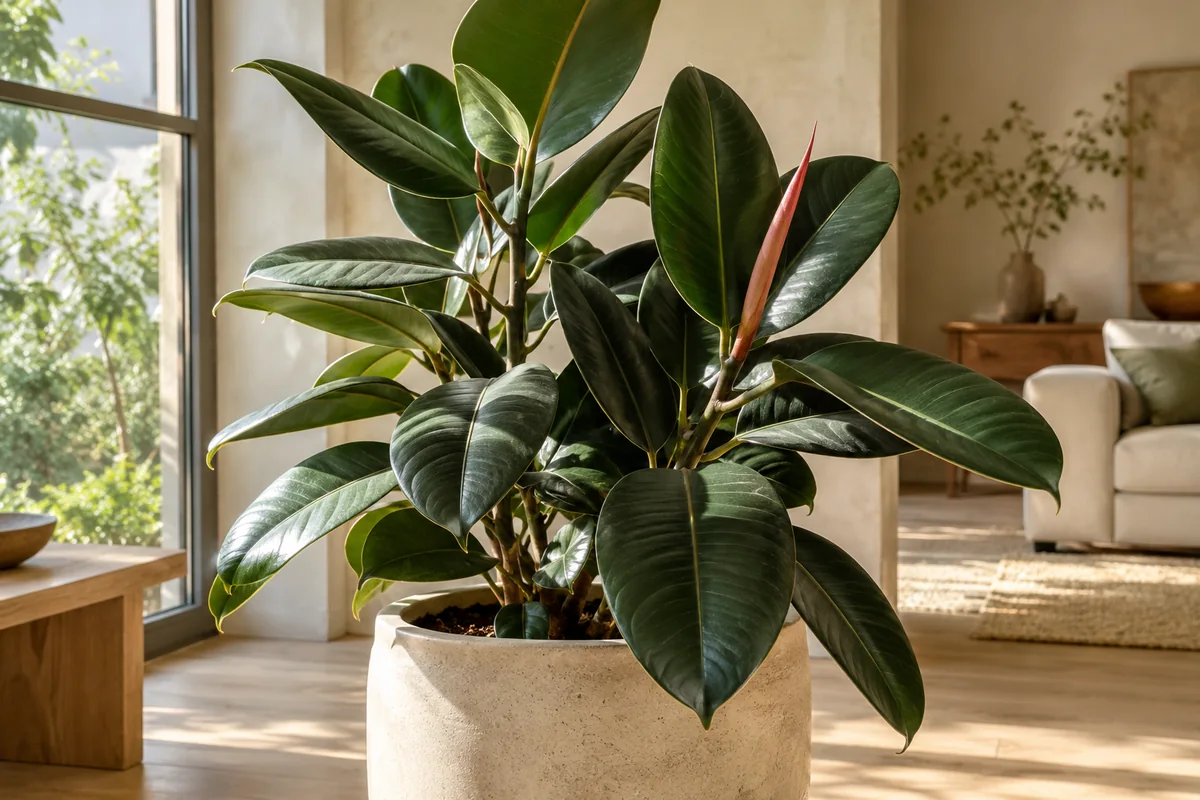
Dust is easiest to notice on a broad rubber plant leaf when daylight catches it at an angle. The same film can collect less visibly on other foliage around the room. Cleaning gives you a clearer view of the plant and removes material that can interfere with the light reaching its surface. Begin by looking at the leaf texture. A smooth broad leaf can be supported and wiped gently, while fine hairs, waxy coatings, and delicate fern fronds need a different approach. The goal is to remove loose dust without polishing away natural features or damaging the tissue. A simple method suited to the plant is usually more useful than a product promising an artificial shine.
Set the pot where you can work comfortably and protect the surface beneath it. Use clean water close to room temperature and a soft cloth for suitable smooth leaves. Support each leaf from underneath with one hand so the cleaning pressure does not pull against its stalk. Wipe gently from the base toward the tip, using light passes rather than scrubbing a stubborn spot repeatedly. Rinse or change the cloth as it collects dust. Work on a few leaves at a time and pause if the plant is awkward to hold. Large plants may be easier to clean in place than to drag across the room simply to reach a sink.
Check the underside as well as the top, taking care around veins and leaf stalks. This is a useful opportunity to inspect the plant for unfamiliar specks, webbing, sticky residue, or damaged areas. Do not treat every mark as dust or press harder when it does not wipe away. Some patterns belong to the leaf, and some marks require identification before any response. Use a separate cloth when moving from a plant with an unexplained issue to another specimen. Clean hands and tools help keep the task organized. A leaf cleaning session should improve inspection, not spread residue among plants because the same dirty cloth was used across the whole collection.
A gentle rinse can suit some sturdy plants with many small smooth leaves. Keep the water mild, support the pot, and avoid a forceful spray that bends stems or washes mix out of the container. Protect the root zone from unnecessary soaking if it is already wet. Let the foliage drain and dry in a sheltered bright position away from intense sun or a cold draft. Not every plant belongs under running water. Fine hairy leaves, powdery succulent surfaces, and tightly arranged rosettes may need a dry soft brush or another species appropriate method. Check reliable care guidance when the surface looks specialized instead of applying the same rinse to every plant.
Avoid oils, food mixtures, and improvised household coatings intended to make leaves glossy. They can leave residue, collect more dust, or alter a surface whose natural appearance is already functional. A clean leaf does not need to look like polished plastic. Mineral spots may remain after water dries, depending on the water source and the leaf, so use a suitable water supply and a gentle finish rather than scrubbing the tissue. If a mark is embedded in damaged leaf material, cleaning will not restore the original green surface. Keep expectations focused on removing loose material and improving visibility, allowing natural texture and small old imperfections to remain.
Decide how often cleaning is needed by observing the room and foliage. A plant near an open window or in a busy dusty space may need attention sooner than one in a quieter area. Winter light makes accumulated dust more noticeable as plants rely on fewer daylight hours, but the task is useful in any season when a film develops. Avoid wiping so frequently or firmly that the cleaning itself becomes a source of damage. Check the plant during ordinary watering visits and clean when there is a reason. A quick inspection of a few leaves can tell you whether the rest of the canopy needs attention without turning every care session into a complete wash.
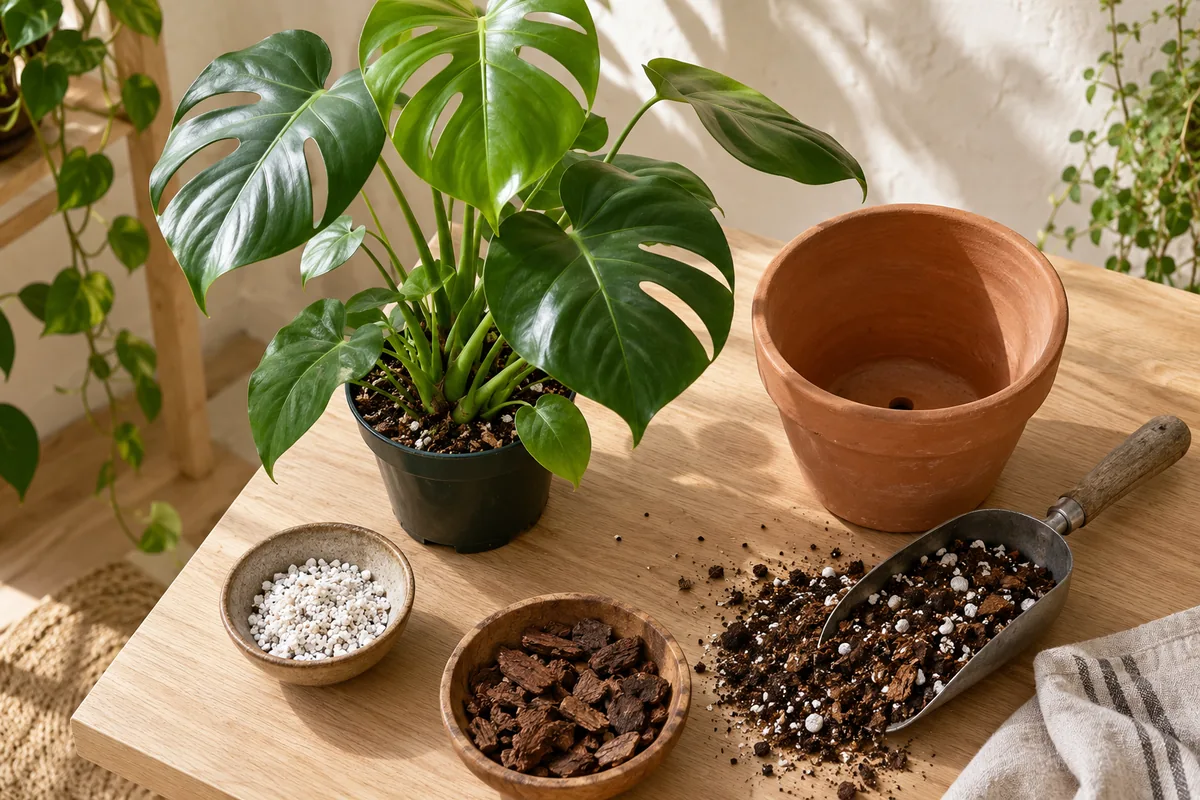
Keep the leaves supported while moving around the pot and avoid pulling a climbing plant away from its support to reach a difficult surface. A soft brush may remove dust from a narrow gap without bending the stalk. Remove fully spent fallen leaves from the mix separately, using clean tools if a stalk needs cutting. Do not combine a gentle cleaning with an impulsive major pruning simply because the plant is already on the work table. Look at the growing points and note any new leaf beginning to unfold. Leave tender emerging tissue alone when it cannot be handled without pressure. The oldest visible leaves are not always the safest parts to grip for support.
After cleaning, return the plant to its suitable position and check that excess water has not accumulated in the saucer or outer pot. Note any marks you found so their later condition can be compared with a photograph. The most useful result is a plant whose leaves can receive light and be inspected clearly, with no unnecessary film or handling damage. Keep the method simple enough to repeat when dust returns. Over time, the routine becomes part of observing the plant rather than a separate cosmetic task. Natural leaf surfaces vary, and respecting that variation is what makes cleaning both effective and gentle across a mixed indoor collection.